The Basics of Mixing
At its core, mixing is about balancing multiple audio sources to create a cohesive sound. The process involves adjusting levels, EQ, and effects for each input channel, and then combining them into a final output. Sounds simple, right? Let’s break it down.
1. Input Stage:
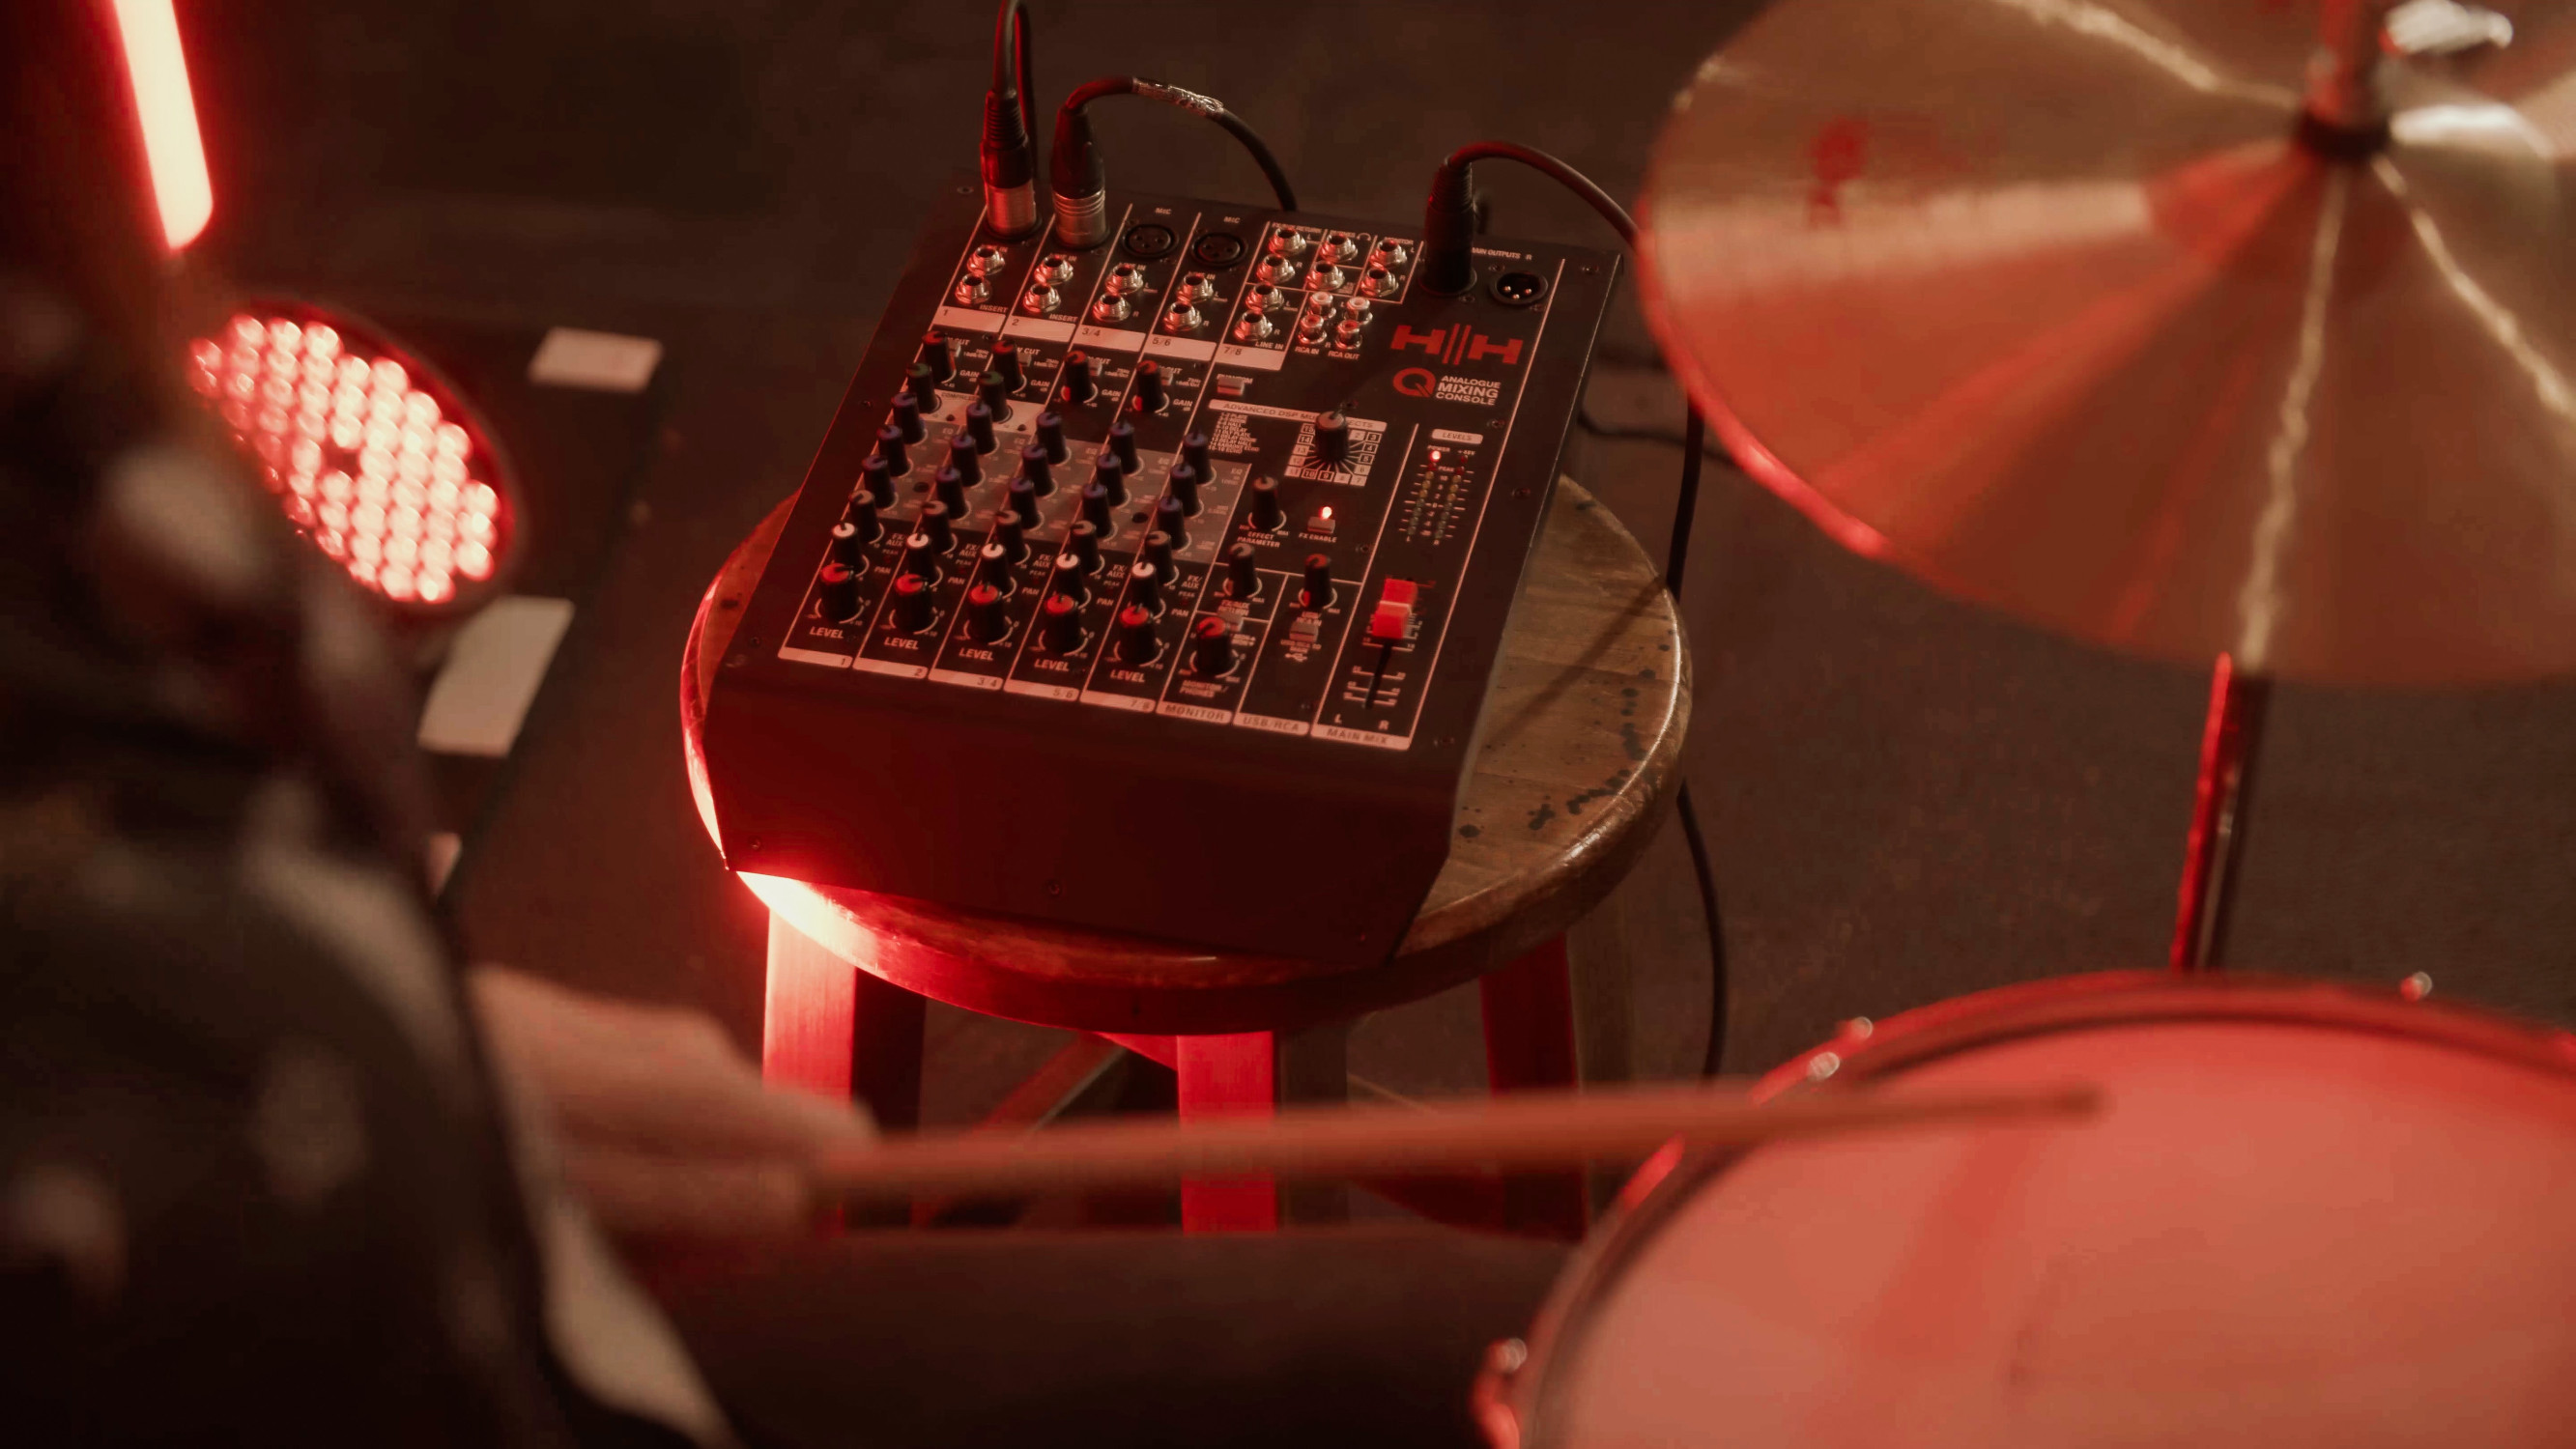
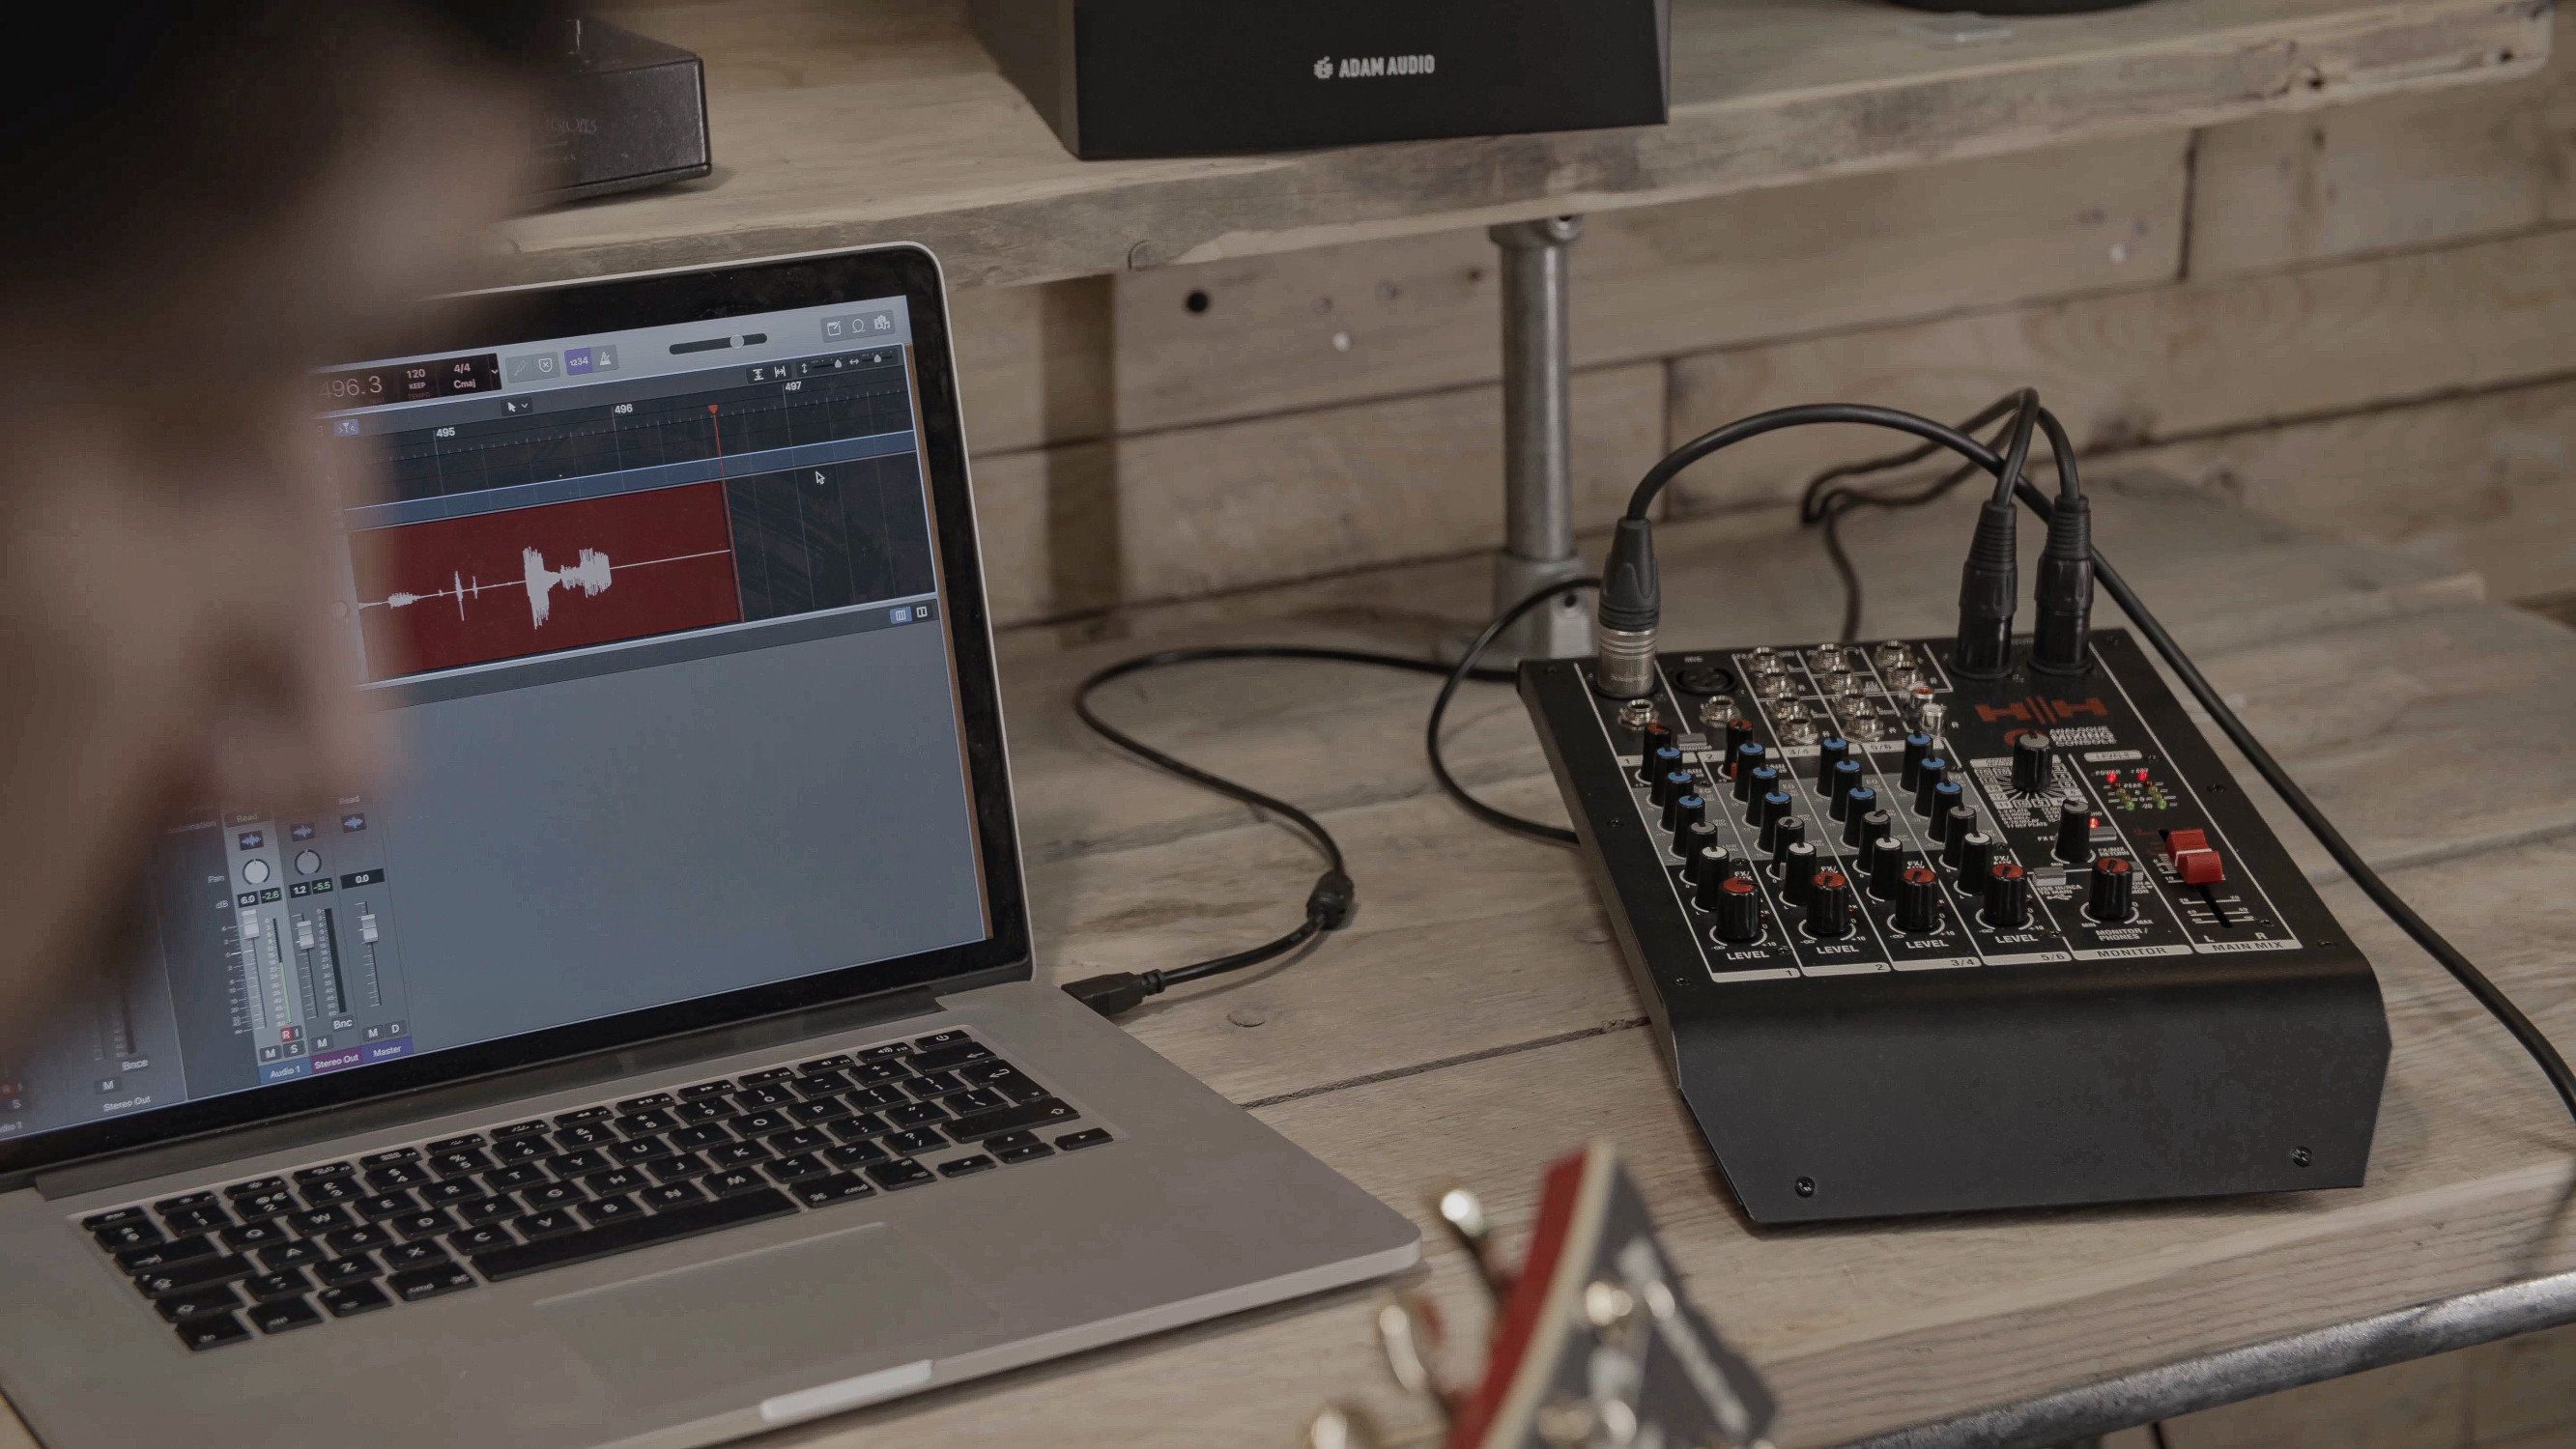
Start by connecting your audio sources (microphones, instruments, etc.) to the mixer's input channels. The HH Q Series mixers offer a range of input options, from the compact Q6FX with 2 mono and 2 stereo line inputs, to the larger Q16FX with 10 mic inputs and multiple line inputs.
What’s the difference between line input and microphone inputs we hear you ask?
Microphone Inputs:
· Sensitivity: Microphone inputs are designed to handle very low-level signals, typically in the range of -60 dBV to -40 dBV.
· Preamp: They include a microphone preamplifier to boost the weak microphone signal to line level.
· Phantom Power: Many mic inputs provide phantom power (usually +48V) for condenser microphones.
· Impedance: Mic inputs typically have a low impedance, around 1.5 kΩ to 3 kΩ.
· Connector: Usually XLR connectors, though some mixers use 1/4" TRS jacks for mic inputs.
Line Inputs:
· Sensitivity: Designed for much stronger signals, typically around -10 dBV (consumer level) or +4 dBu (professional level).
· No Preamp: They don't include a preamplifier as the signal is already strong enough.
· No Phantom Power: Line inputs don't provide phantom power.
· Impedance: Higher impedance than mic inputs, often around 10 kΩ or higher.
· Connector: Commonly use 1/4" TS or TRS jacks, or RCA connectors for consumer gear.
In the context of the HH Audio Q Series mixers:
· The Q6FX has 2 mono input channels (which can accept both mic and line level signals) and 2 stereo line input channels.
· The Q8FX features 4 microphone inputs and 3 stereo line inputs.
· The Q12FX offers 6 mic inputs, 4 mono line inputs, and 4 stereo line inputs.
· The Q16FX provides 10 mic inputs, 8 mono line inputs, and 4 stereo line inputs.
This variety of inputs allows these mixers to accommodate a wide range of audio sources, from microphones to instruments to audio playback devices.
2. Gain Staging:
Gain staging is the process of controlling the level of your audio signal throughout the entire signal path. Ensuring that you keep a clean signal that is well above the noise floor and can be processed without clipping or introducing unwanted distortion before being sent to your output source.
To begin, ensure that your sound sources are producing an appropriate level of signal. This prevents you from needing to add large amounts of gain to achieve a good level. There is a lot of input gain on tap with Q Series mixers (+5 to +45dB), however, a side effect of needing to add too much input gain to get to an appropriate level can be introducing unwanted noise into the signal path. So, getting the right level from your sound source will start you off on the right foot.
Next, adjust your input gain to give your signal enough headroom. Headroom is how much room your signal has before becoming distorted and clipping. This breathing space for your audio signal acts as a buffer to allow for any additional level you may introduce from EQing, enabling the built-in DSP effects or for dynamic changes from your sound source. Dynamic changes could be from electric guitar boost pedals or fluctuations in volume from your vocalist. Adjusting input gain for each channel so that the level peaks between -10 and -6dB is a good starting point.
Once your input gain is set you can move on to the built-in compressor featured on the Q8FX, Q12FX, and Q16FX. Compression helps to control the dynamic range of a sound source and is perfect for taming loud signals from sound sources with wide dynamic ranges whilst allowing quieter signals from the same source to be brought up to an appropriate level. The single knob compressor featured on Q8FX, Q12FX, and Q16FX mixers makes this process very easy.
Next, you can move on to shaping the tone of your sound sources with the 3-Band EQ. Note that by boosting frequencies you will be adding more gain to the signal path. Again, it’s important to leave enough headroom when setting your input gain to allow for this.
Always keep an eye out for the peak LED indicator illuminating on individual channels as well as on the main output meter. These indicators will highlight if there is a problematic signal clipping in your mix. Keep checking regularly as gain structure may shift during a performance.
Remember, proper gain staging is about finding the sweet spot where your signal is strong enough to maintain quality throughout the system, but not so strong that it causes distortion. It is a balancing act that becomes easier with practice and attentive listening.
3. EQ Adjustment:
Shape the tone of each input using the built-in EQ. The HH Q Series offers a 3-band EQ on each channel, with high (12kHz), mid (2.5kHz), and low (100Hz) frequency controls. This allows you to boost or cut individual frequency bands to enhance clarity and eliminate problematic resonances.
Using EQ on a mixing console isn’t quite the same as using the tone stack on a guitar amplifier as each channel on a mixer isn’t operating in complete isolation, it has a relationship with all the other channels. It’s important to be mindful of your whole mix when adjusting individual channel EQ, to ensure you achieve an overall balance.
The 3-band EQ on Q Series mixers offers the ability to cut and boost specific frequency bands which is perfect for shaping the tone of the sound source on the channel you’re adjusting and making space in the mix for sound sources on other channels. The ability to cut and boost these individual bands means that non-essential frequencies can be cut from one source to carve space for the fundamental frequencies of a different source on a different channel, thus creating a tonal balance between these sources. For example, cutting mid frequencies on electric guitar channels to ensure your lead vocal is crystal clear.
The 75Hz low-cut function on the Q8FX, Q12FX, and Q16FX can be a useful EQ tool when it comes to removing unwanted low rumble.
4. Adding Effects:
Enhance your mix with effects like reverb or delay. The HH Q Series mixers come with 16 built-in high-quality DSP effects including reverbs, delays and echoes. Having these effects built in allows you to These effects are based on hand-selected algorithms and are easily controlled via the FX enable button and parameter level knob (Q8FX, Q12FX and Q16FX).
5. Setting Levels:
Use the channel faders to balance the volume of different inputs in relation to each other. The larger Q12FX and Q16FX models also offer subgroup routing, allowing you to control multiple related channels together – that’s useful for a drum mix or for grouping backing vocals.
6. Monitoring:
Use headphones or monitor speakers to listen to your mix. The HH Q Series provides dedicated monitor outputs and a headphone out for this purpose. You can also set up monitoring for the musicians too, either in the form of a monitor wedge or in-ear monitoring via the Aux send outputs.
7. Main Output:
Finally, send your mixed audio to your main speakers. This is where the HH Tensor range of portable PA powered speakers comes in, offering clear and powerful sound reproduction for various venue sizes.


